 |
|||
|
|
|||
|
Page Title:
WEAR LIMIT INSPECTION (MODEL T-136-27) |
|
||
| ||||||||||
|
|
 TM 9-2520-246-34-1
2-18. WEAR LIMIT INSPECTION (MODEL T-136-27). The following paragraphs give
the minimum and maximum wear limits for each subassembly to which a part or parts may
be worn before a new part is needed.
a.
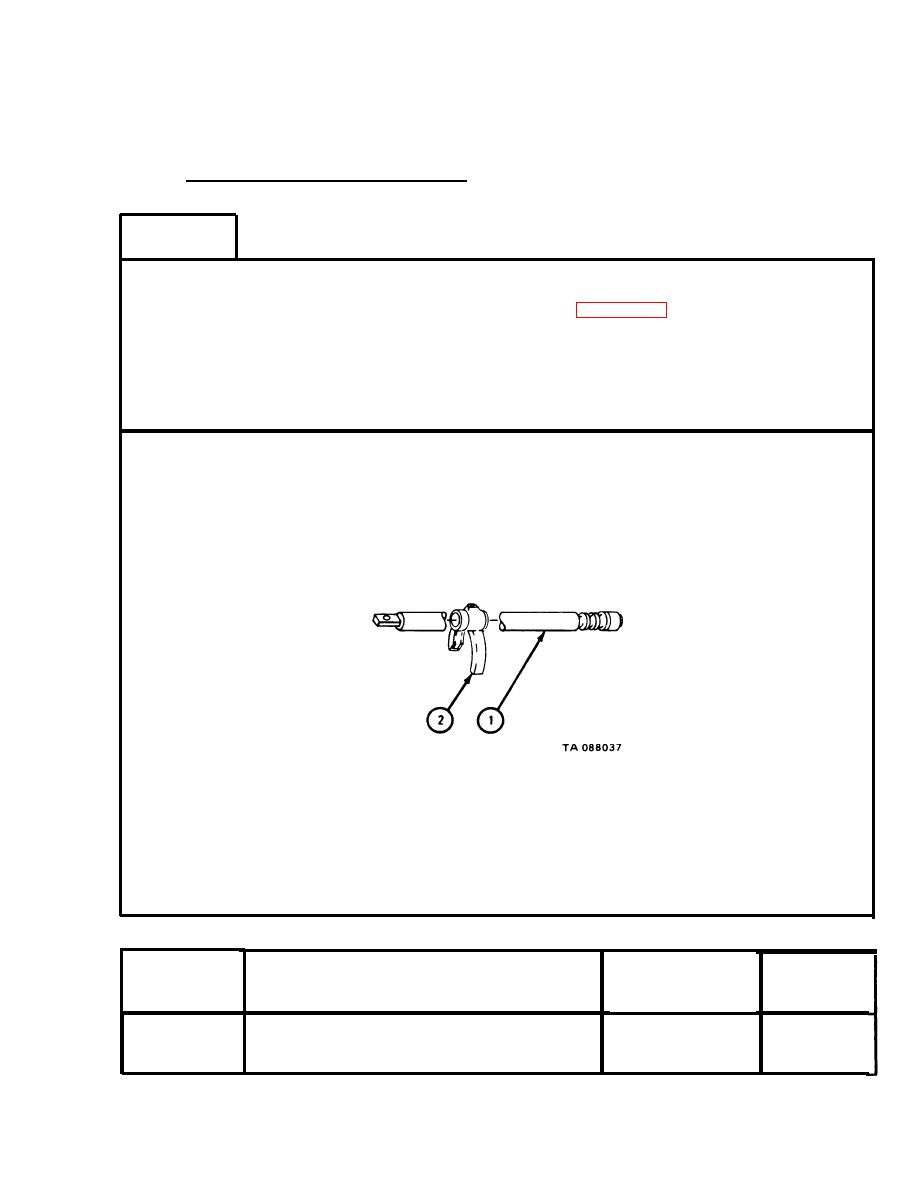
Low Range Shifter Shaft Assembly.
FRAME 1
NOTE
Readings must be within limits given in table 2-15. If readings
are not within given limits, throw away part and get a new one.
1.
easure diameter of shifter shaft (1).
2.
Measure width of groove in shifter fork (2).
END OF TASK
Table 2-15. Low Range Shifter Shaft Assembly Wear Limits
Size and Fit
of New Parts
Wear Limit
Index Number
(inches)
Item/Point of Measurement
(inches)
1
0.9945 to 0.9955
Low range shifter shaft outside diameter
None
Shifter fork groove width
2
0.712 to 0.720
0.7400
2-175
|
|
Privacy Statement - Press Release - Copyright Information. - Contact Us |